Mixing Drums - Philosophy and Starting Points
Great sounding drums are a non-negotiable part of a great mix. It's an art that combines technical know-how with a touch of creativity. Understanding the philosophy behind drum mixing and having clear starting points can significantly elevate the impact of your mix. Here's a comprehensive guide to help you navigate the intricate world of drum mixing.
1. Philosophy of Drum Mixing
Respect the Source:
Start with quality recordings. A well-recorded drum kit forms the foundation for an exceptional mix. Ensure proper mic placement, high-quality microphones, and a well-treated recording environment to capture the drums accurately. Consider hiring a professional engineer and booking a studio with a great live room.
But also, Don’t Respect the Source:
If you’re lucky enough to have GREAT sounding drum recordings, that’s amazing. But if you don’t, or if the drum sounds just don’t fit the song, do not be afraid to augment with some great samples. I prefer to add rather than completely replace, whenever possible.
Serve the Song:
Consider the genre and mood of the song. The drum mix should complement the style and energy, whether it's a punchy rock track, a tight pop production, or a groovy jazz piece. Let the drums enhance the song's dynamics and emotions.
Balance and Cohesion:
Achieving balance among the drum components is crucial. Balance the kick, snare, toms, hi-hats, cymbals, and overheads to create a cohesive drum sound. Each element should have its place in the mix without overpowering the others.
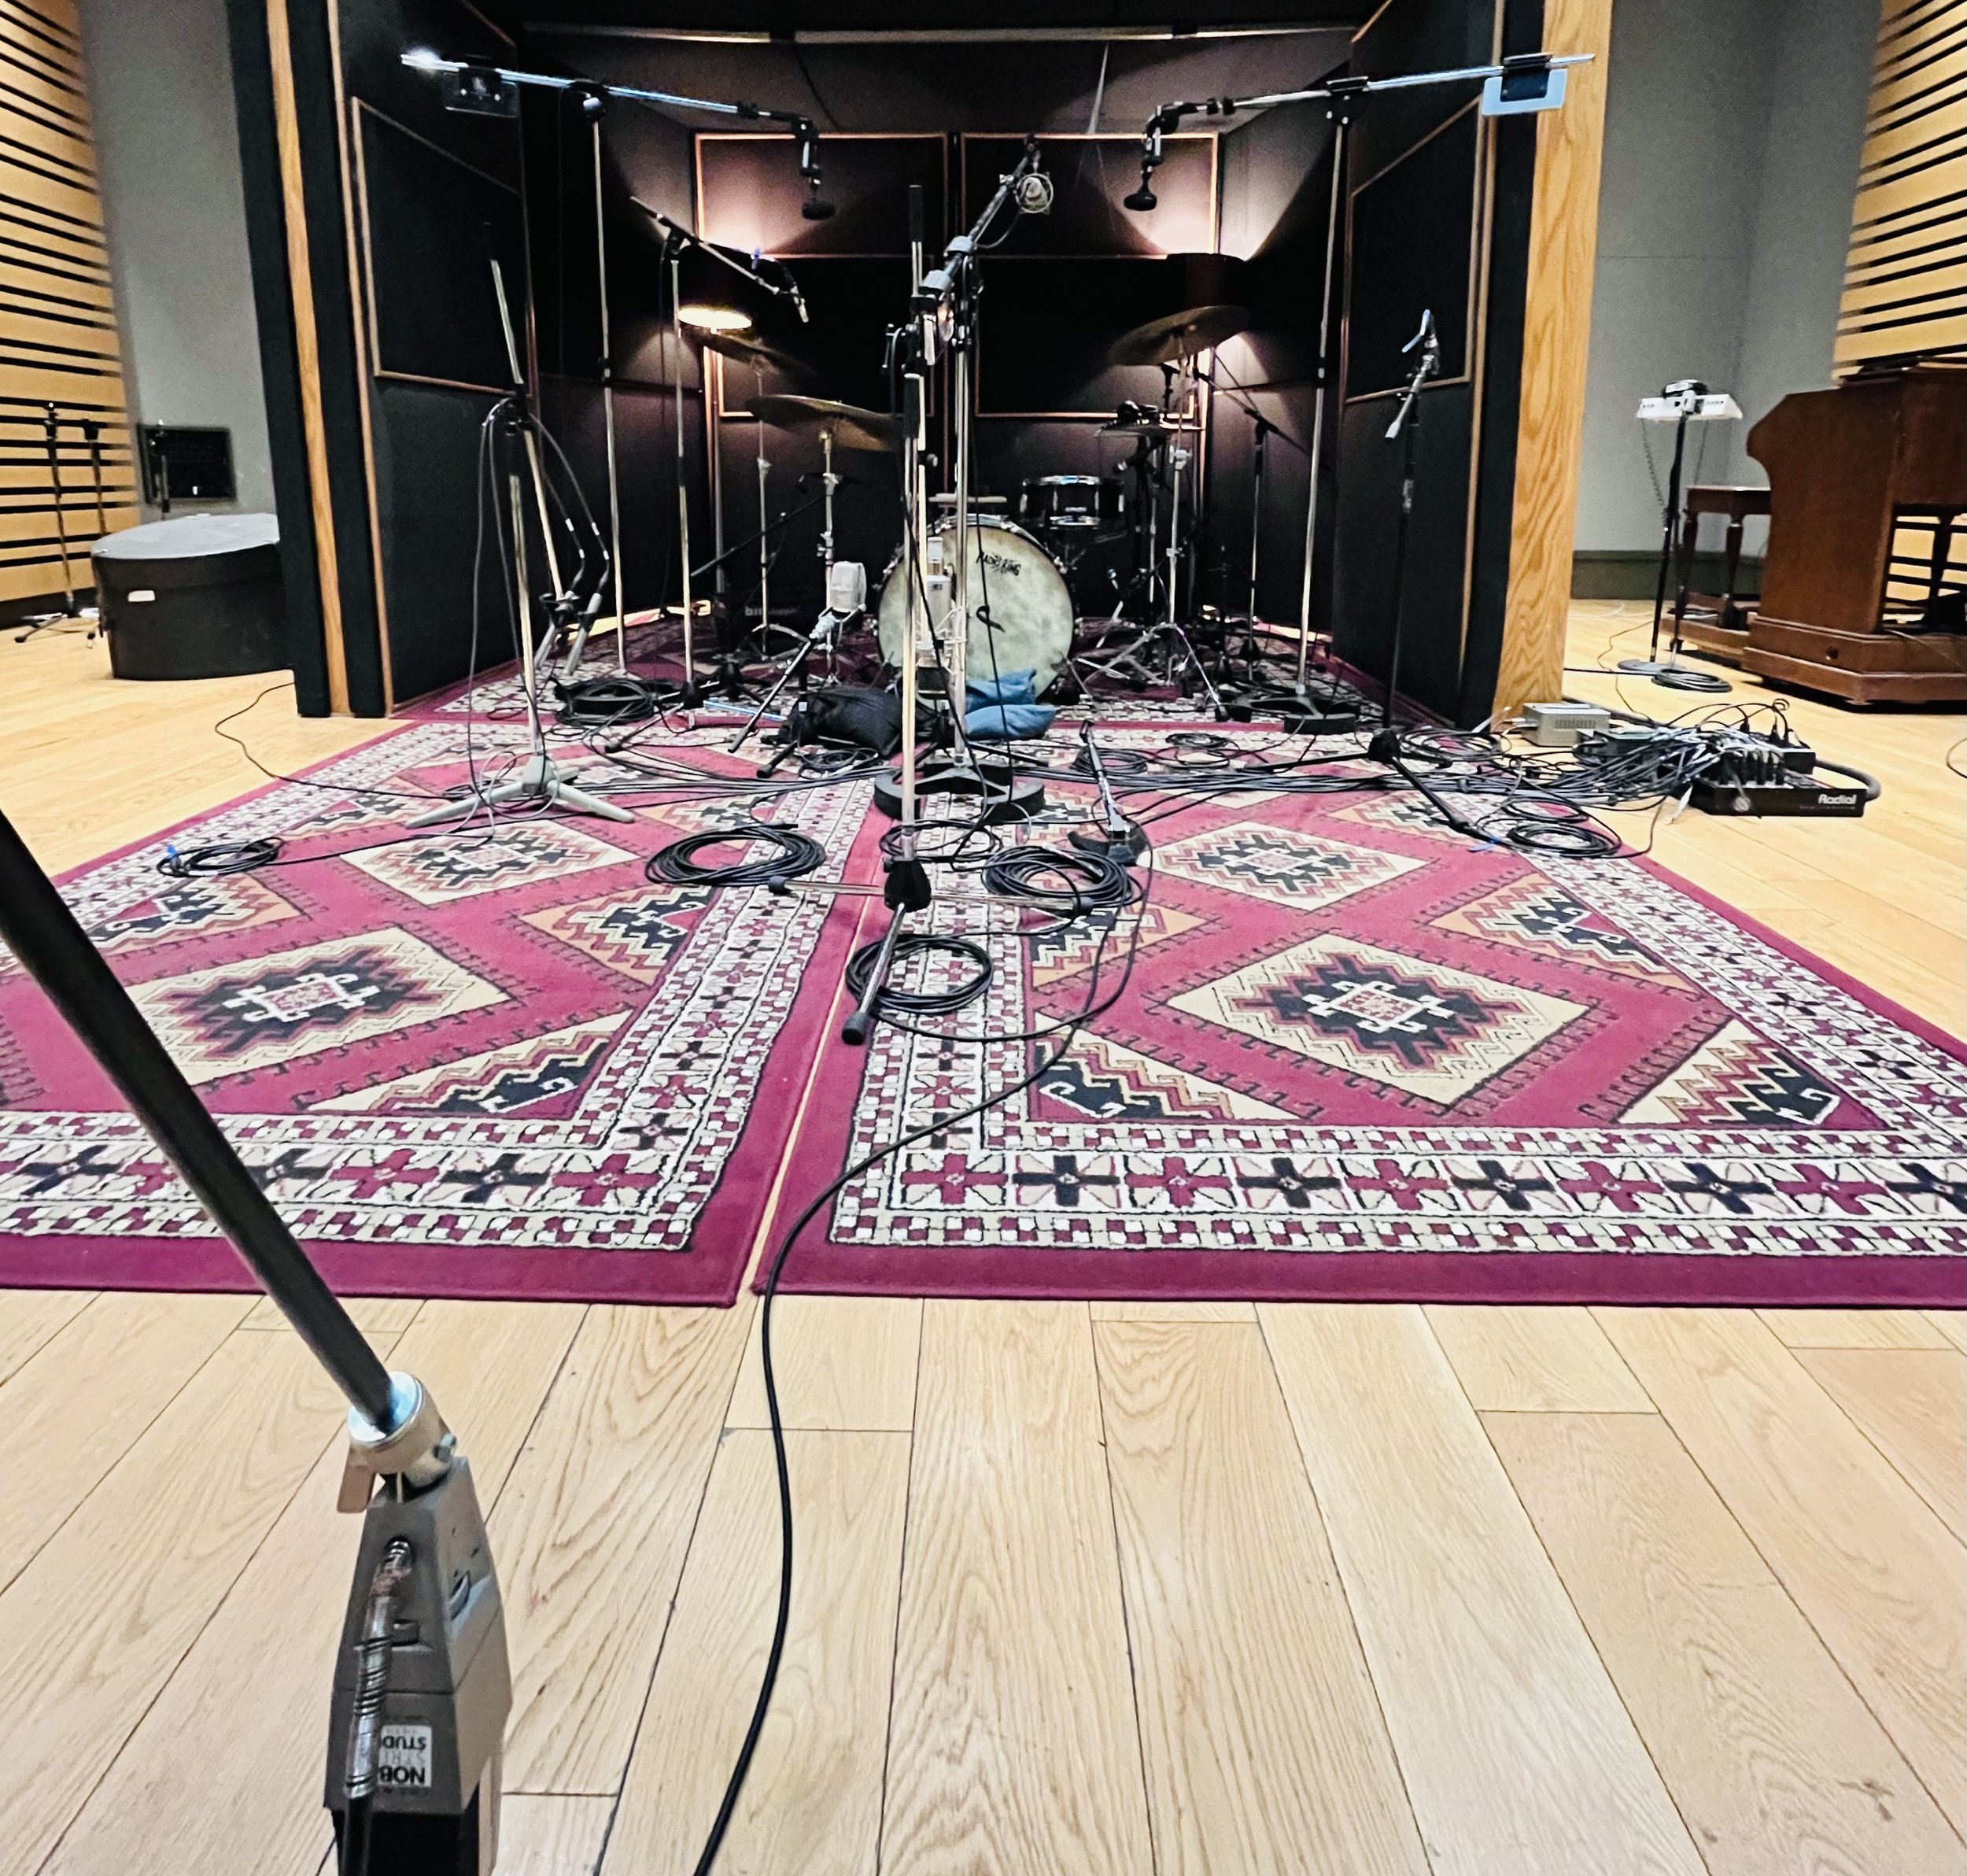
Its All About the Room:
Close mics will be the “front” of your drum sound - the hit and weight of the drum sound. But, in my opinion, the room sound is the flavor and color of the drum sound. Create the room you need for the song. Add rugs to deaden up the space, or bring in reflective surfaces like wood to add some splash to the room. If a great drum room is simply not possible, consider using a plugin like UAD Sound City Studios to fake it.
Create Space:
Use panning, EQ, and spatial effects like reverb and delay to craft a sense of space. Place elements within the stereo field to create depth and width, allowing the drums to breathe and sit naturally within the mix.
2. Starting Points for Drum Mixing
Kick Drum:
Begin with the kick drum as the foundation of the rhythm. Enhance its low-end punch with EQ around 60-80 Hz and add attack and presence around 5-8 kHz. Complement it with a well-tuned bass to avoid frequency conflicts. Boxiness can exist anywhere from 200-500 Hz. Experiment with cutting or boosting here to see what it adds. For kick, I love a dbx/ssl style compressor. Start with a slow attack, fast release, and 3:1 ratio. Aim for 1db of compression to add snap and consistancy to the kick drum. I’ll usually use the Waves SSL EV2 channel strip on each kick track and call it a day.
Snare Drum:
Focus on the snare's body and snap. Use EQ to emphasize its fundamental frequencies around 200 Hz for body, 5 kHz for presence, and 10k for brightness. Apply compression to control dynamics and shape the snare's transient. My compressor settings would be identical to the kick, and using the same SSL plugin for eq and compression. Near the end of a mix, if I find I’m missing the “hit” of the snare drum I’ll use a transient shaper like Waves Smack Attack to add attack to the sound.
Toms:
Toms sound their best when well tuned. Consider hiring an experienced drum tech for a session and pay attention to what they do. Tom recordings should be cleaned so as to not ring out while not being played. Some people use a gate plugin for this but I far prefer to just edit out any sections of audio where the toms are not being used. EQ the toms to bring out their fullness while cutting unwanted frequencies. This typically means boosting 200-300 Hz for body, cutting 500-700 Hz for boxiness, and adding 5k for presence. Consider hipassing any mud if this is a problem.
Hi-Hats and Cymbals:
High-frequency elements like hi-hats and cymbals add sparkle and air to the mix. Use gentle EQ to enhance their brightness while taming harsh frequencies. Apply subtle compression to maintain their dynamics. A plugin like Soothe2 can do wonders for harsh overhead mics. Hat mics usually need little to no eq other than a healthy hipass filter as high as 1 kHz to remove unnecessary information.
Room Mics:
Consider using heavy compression to bring out the character of your room mics. I love using the UAD 1176 Bluestripe for this. EQ before the compressor to cut out any unruly frequencies.
Drumbus:
I have a drumbus in nearly every mix session. First I’ll use a VCA style compressor like the BX Townhouse or Shadow Hills Mastering Compressor to add punch and glue to the drums. After that I’ll typically add the UAD EQP1A and add a healthy amount of 10 kHz, adding both brightness and air. Occasionally I’ll also employ saturation with the Black Box plugin.
Back Bus:
Consider adding a parallel compression bus to your drum mix. This can add size and power to your drums extremely effectively. Lately I’ve been using the Kiive Audio Complexx 760. Use just the limiter and don’t be afraid to hit it HARD. Send your kick tracks, snare tracks, toms, and rooms to add some explosiveness to your drums. Balance to taste.
Conclusion
Mixing drums is a balance of technical precision and artistic expression. By understanding the philosophy behind drum mixing and employing effective starting points, you can sculpt the drums into a cohesive and impactful element of your mix. Remember, every song is unique, so experimentation and adaptation are key to achieving a stellar drum mix.
Ready to take your drum mixes to the next level? Reach out to me to explore how my expertise can enhance your music production journey. Happy drum mixing!